Constructing a Pallet Shed: A Comprehensive DIY Guide
This guide provides a detailed, step-by-step approach to building a functional and aesthetically pleasing shed using reclaimed pallets. While utilizing reclaimed materials offers significant cost savings and environmental benefits, it necessitates careful planning and execution. This project requires basic carpentry skills and the appropriate tools; however, with meticulous attention to detail, even novice builders can achieve satisfactory results.
Phase 1: Planning and Preparation
Before commencing construction, meticulous planning is paramount. This phase involves several critical steps that lay the foundation for a successful project.
1.1 Assessing Your Needs and Site Selection
Determine the desired dimensions of your shed based on your storage requirements. Consider the items you intend to store, ensuring sufficient space for easy access and maneuverability. Simultaneously, select a suitable location for your shed, taking into account factors such as accessibility, sunlight exposure, and proximity to utilities. Ensure the chosen site is level and provides adequate drainage to prevent water accumulation.
1.2 Sourcing and Inspecting Pallets
Securing appropriate pallets is crucial. Contact local businesses, construction sites, or recycling centers to source reclaimed pallets. Inspect each pallet thoroughly for signs of rot, pest infestation, or structural damage. Select only sound pallets with robust construction. Aim for pallets of consistent size and quality to simplify the construction process. A mix of sizes will significantly complicate the build.
1.3 Gathering Tools and Materials
Assemble the necessary tools and materials before starting construction. This will streamline the process and prevent interruptions. The following list outlines essential items:
- Measuring tape and level
- Hammer and pry bar
- Screwdriver (preferably cordless) and various screws (galvanized recommended for outdoor use)
- Safety glasses and gloves
- Circular saw or hand saw
- Drill with assorted drill bits
- Wood glue
- Sandpaper and safety respirator (for sanding)
- Post hole digger or auger (for setting posts, if necessary)
- Concrete mix (for setting posts, if necessary)
- Pressure treated lumber for the base (optional, but recommended for longevity)
- Exterior-grade paint or sealant (optional, for protection from the elements)
- Sufficient number of suitable pallets (quantity will depend on shed dimensions)
Phase 2: Shed Base Construction
A robust base is fundamental to a stable and durable shed. This section details the steps involved in constructing a sturdy foundation.
2.1 Preparing the Ground
Clear the selected site of debris, vegetation, and any obstructions. Level the ground using a rake and shovel, ensuring a flat and even surface for the base. If the ground is uneven, consider using compacted gravel to create a level foundation.
2.2 Constructing the Base Frame
Construct a rectangular frame using pressure-treated lumber. This frame will provide a solid base for the pallet walls. The dimensions of the frame should match the intended floor area of your shed. Secure the frame using appropriate screws and wood glue. Ensure the frame is perfectly square and level before proceeding.
2.3 Installing the Floor (Optional)
For added protection from moisture and improved floor stability, consider constructing a floor using plywood or additional reclaimed pallets. Attach the flooring to the base frame using screws. Ensure the flooring is flush with the frame and secured firmly.
Phase 3: Assembling the Pallet Walls
This section details the crucial step of assembling the pallet walls, ensuring structural integrity and aesthetic appeal.
3.1 Preparing the Pallets
Carefully inspect each pallet for loose or damaged boards. Reinforce any weak points using screws or wood glue. Remove any protruding nails or staples that could pose a safety hazard. Consider cleaning and sanding the pallets for a smoother finish.
3.2 Constructing the Walls
Begin by assembling the pallet walls. This may involve fastening several pallets together vertically or horizontally depending on your design and pallet dimensions. Use screws to join the pallets securely, paying close attention to alignment and stability. Consider using wood glue for added strength and to prevent movement.
3.3 Securing the Walls to the Base
Once the walls are assembled, attach them to the base frame using screws. Ensure the walls are plumb and square, making necessary adjustments as needed. This step is crucial for the overall structural integrity of the shed.
Phase 4: Roof Construction and Finishing
The final phase encompasses roof construction and the addition of finishing touches.
4.1 Building the Roof Frame
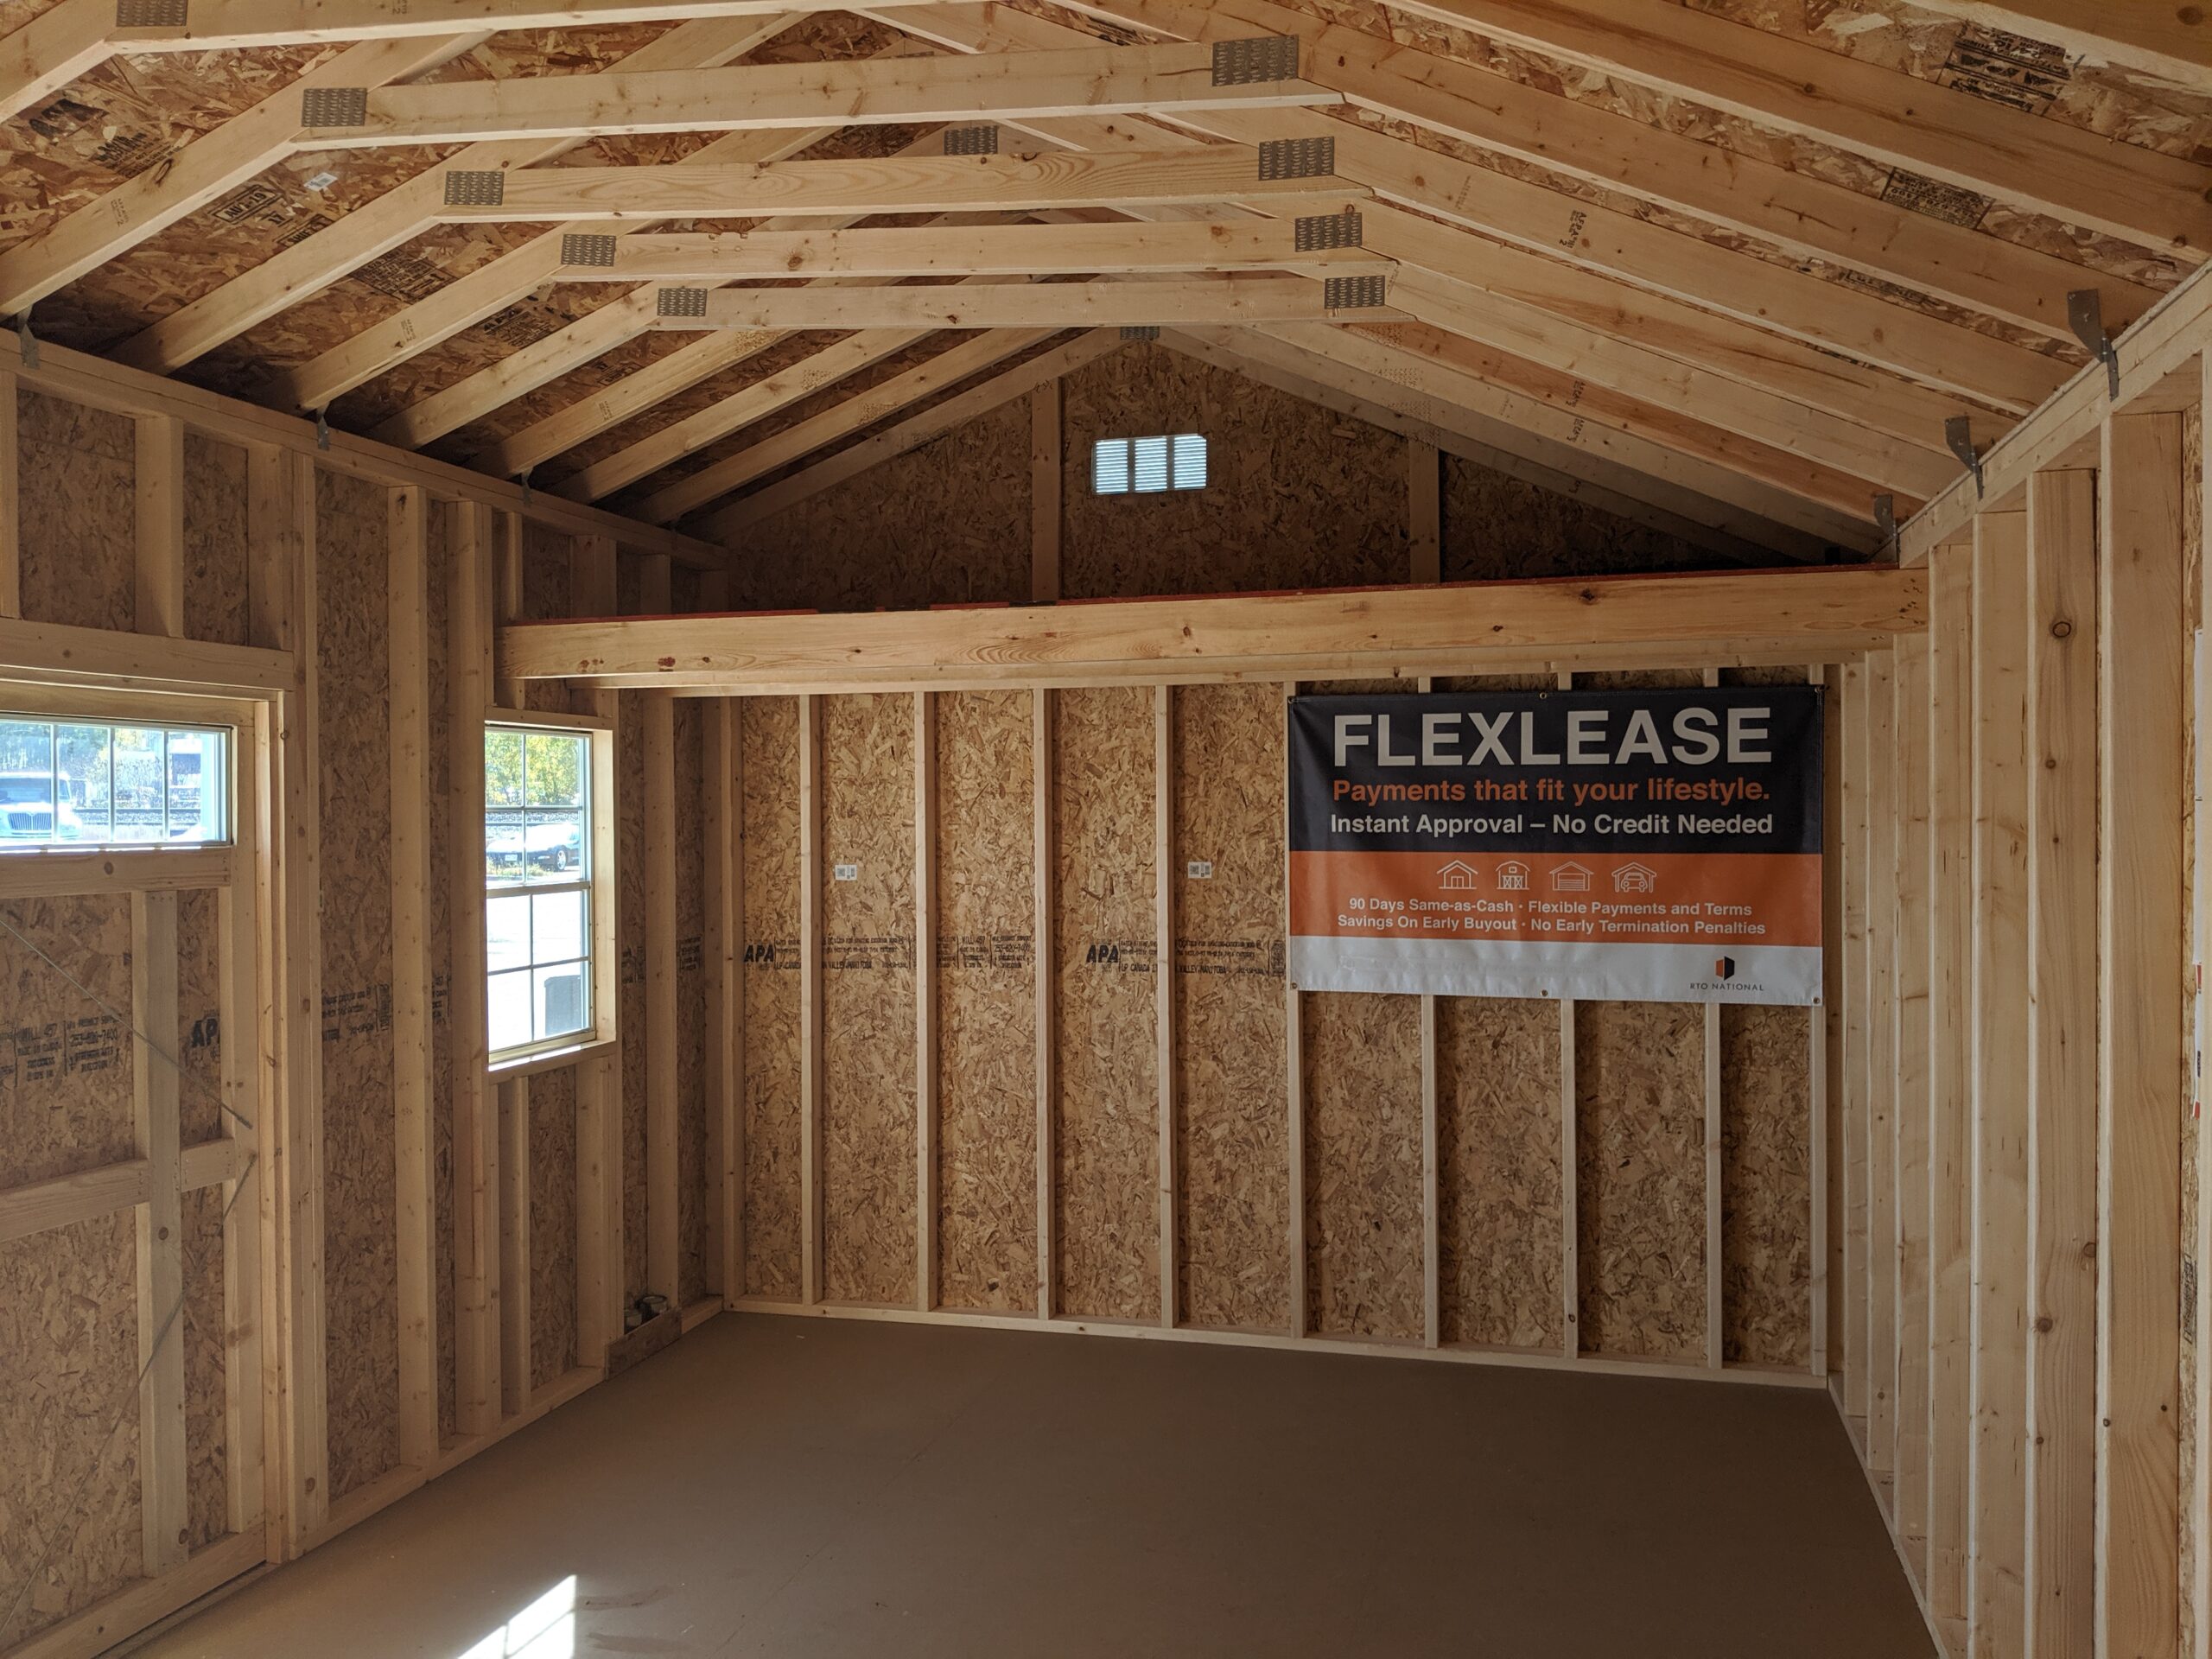
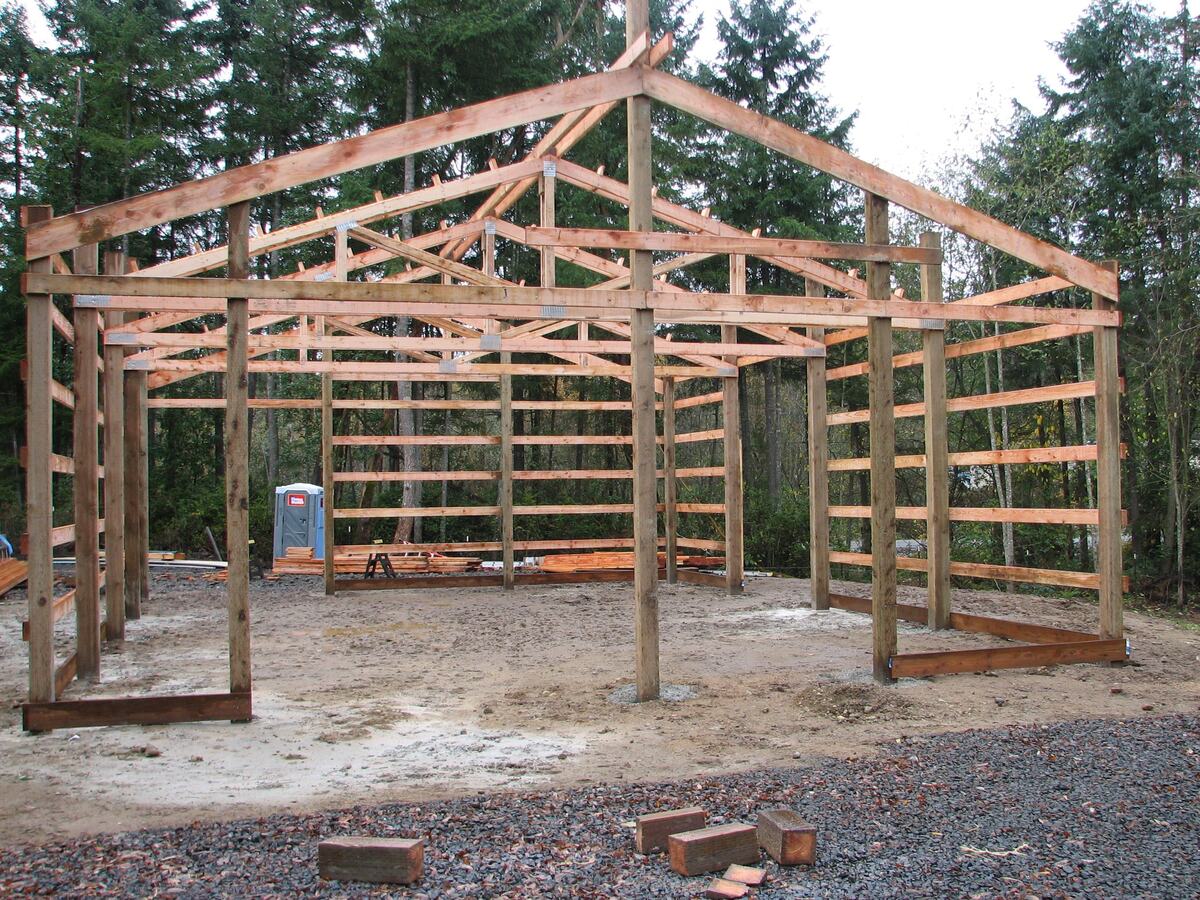
Construct a roof frame using pressure-treated lumber. The design of the roof frame can vary depending on preference, but common options include gable or shed roofs. Ensure the frame is adequately sized to support the weight of the roofing material. The frame should securely attach to the top of the walls.
4.2 Applying Roofing Material
Apply roofing material to the roof frame. Options include corrugated metal sheets, asphalt shingles, or even additional reclaimed pallets (though less weather-resistant). Ensure the roofing material is properly secured and provides adequate protection from the elements.
4.3 Finishing Touches
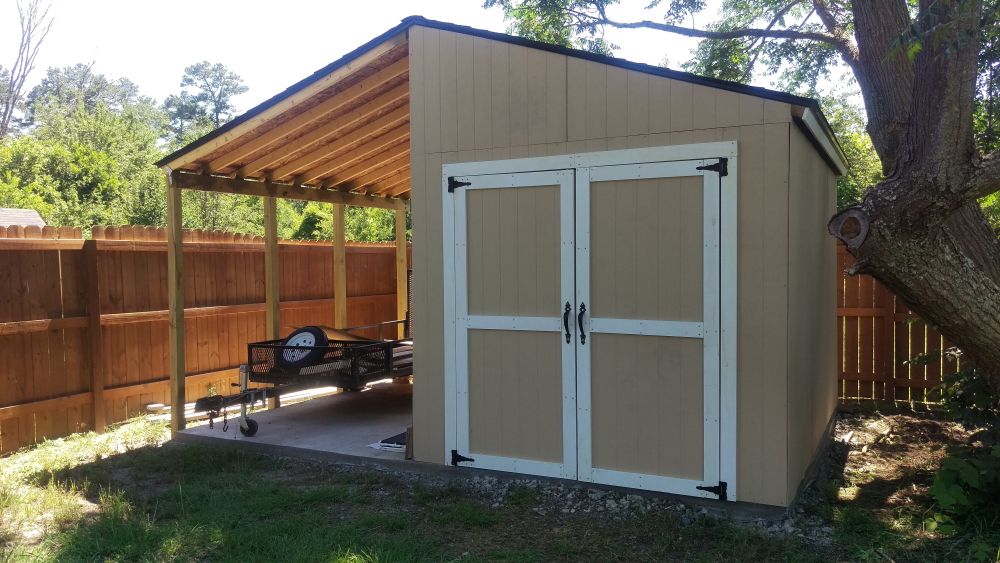
Once the roof is complete, consider adding finishing touches such as doors, windows, and a sealant or paint to protect the wood from moisture and weather damage. Adding a latch to the door enhances security.
Phase 5: Safety Considerations
Throughout the construction process, prioritize safety. Always wear appropriate personal protective equipment (PPE), including safety glasses, gloves, and a dust mask when sanding. Use caution when handling power tools and ensure the work area is well-lit and free of obstructions. Dispose of waste materials responsibly and in accordance with local regulations.
Building a shed from reclaimed pallets presents a rewarding DIY project, combining cost-effectiveness with environmental responsibility. By following this detailed guide, you can create a durable and functional storage solution while minimizing your environmental impact. Remember to always prioritize safety and meticulous planning for optimal results.


