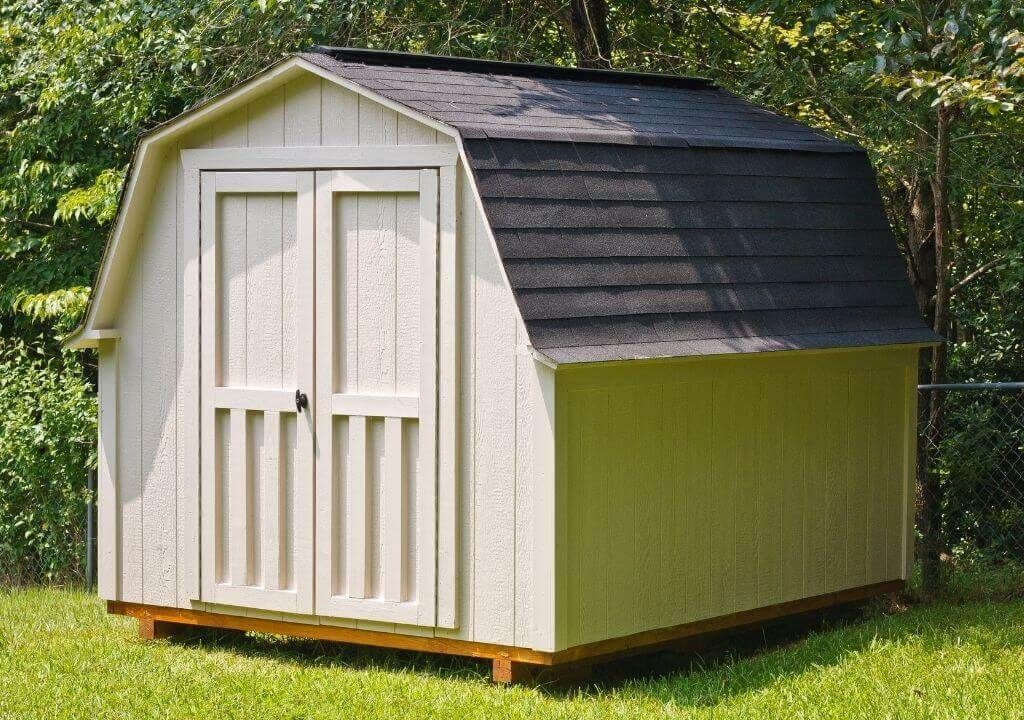
Alright, so you're tired of clutter, right? The garage is overflowing, the basement's a jungle, and you're drowning in a sea of 'stuff'. Sound familiar? Well, fear not, fellow storage seeker! Building your own 10x12 shed is a fantastic way to reclaim your space and create a tidy haven for all your treasures. And the best part? It's a project you can tackle yourself, saving you a bundle of cash in the process!
Let's Break Down the Basics
First things first, let's talk about the plan. You're going for a 10x12 shed, which is a perfect size for storing lawn equipment, tools, bikes, or even a mini workshop. It's big enough to be useful, but not so large that it becomes an overwhelming undertaking.
Materials You'll Need:
Pressure-treated lumber for the foundation: This is your base, so don't skimp! You'll need 4x4s for the skids and 2x6s for the floor joists.
Wall framing: 2x4s are your go-to for the walls.
Roof framing: You'll need more 2x4s for the roof rafters, as well as plywood for the sheathing.
Exterior sheathing: This is the layer that goes on top of the framing, and it gives your shed its structure. OSB (Oriented Strand Board) is a common and affordable option.
Siding: Get creative here! You can use traditional wood siding, vinyl, or even metal for a modern look.
Roofing: Asphalt shingles are a classic choice, but metal roofing is also becoming increasingly popular.
Windows and Doors: Choose what suits your needs. A single window and a standard door are usually all you need.
Fasteners: Nails, screws, and construction adhesive will be your best friends.
Paint or stain: Give your shed some personality with a fresh coat of paint or a natural wood stain.
Step-by-Step Construction Guide:
1. Site Preparation:
Choose the perfect spot: Make sure it's level, well-drained, and has enough space for your shed.
Clear the area: Remove any obstacles like trees, rocks, or old structures.
Get a permit: Check with your local building department for any necessary permits.
2. Foundation Construction:
Lay the skids: Place 4x4s on the ground to create a stable base. Make sure they're spaced properly for the floor joists.
Install the floor joists: Secure 2x6s to the skids, creating the floor framework.
Lay the subfloor: Cover the joists with plywood to create a solid floor.
3. Wall Framing:
Cut and assemble the walls: Using 2x4s, build the walls in sections. Remember to include openings for windows and doors.
Brace the walls: Add diagonal bracing for extra stability.
Attach the walls to the foundation: Secure the walls to the floor joists.
4. Roof Framing:
Construct the roof trusses: Build triangular trusses using 2x4s to support the roof.
Install the roof rafters: Place the trusses on top of the walls and secure them with bracing.
Sheathe the roof: Cover the rafters with plywood for a solid roof base.
5. Exterior Sheathing and Siding:
Apply the sheathing: Attach OSB or plywood to the walls and roof.
Install the siding: Choose your desired siding material and attach it to the sheathing.
6. Roof Covering:
Install the underlayment: Place a layer of felt paper on top of the sheathing to prevent leaks.
Apply the roofing: Install your chosen roofing material, whether it be asphalt shingles or metal.
7. Windows and Doors:
Install the windows: Cut openings for the windows and secure them in place.
Install the doors: Attach the door frame and hang the door.
8. Finish Touches:
Paint or stain: Give your shed a final touch with your chosen paint or stain.
Add finishing touches: Consider adding trim, gutters, or a porch for extra functionality.
Time to Celebrate!
Congratulations! You've successfully built your own 10x12 shed. Now, sit back, admire your handiwork, and enjoy the satisfaction of having created something truly useful and beautiful. As you organize your belongings and revel in the newfound order, remember: you did it! You built a storage sanctuary, a haven for all your treasures, and a testament to your DIY skills. Now, go forth and conquer the clutter!
Pro Tips for Success:
Plan ahead: Draw up detailed plans and gather all your materials before you start.
Get help when needed: Don't be afraid to ask for help from friends or family with the heavier tasks.
Take your time: Don't rush the process. It's better to do things right than to rush and make mistakes.
Enjoy the process: Building a shed is a fun and rewarding project. Take your time, relax, and have a good time!
Your 10x12 Shed Awaits!
So there you have it! Your DIY guide to building a 10x12 shed. It's a fantastic project for anyone looking to organize their space, improve their home, and save some money. Get ready to experience the joy of having a tidy and organized storage space - a space you'll be proud to call your own. Happy building!

0 comments:
Post a Comment
Note: Only a member of this blog may post a comment.