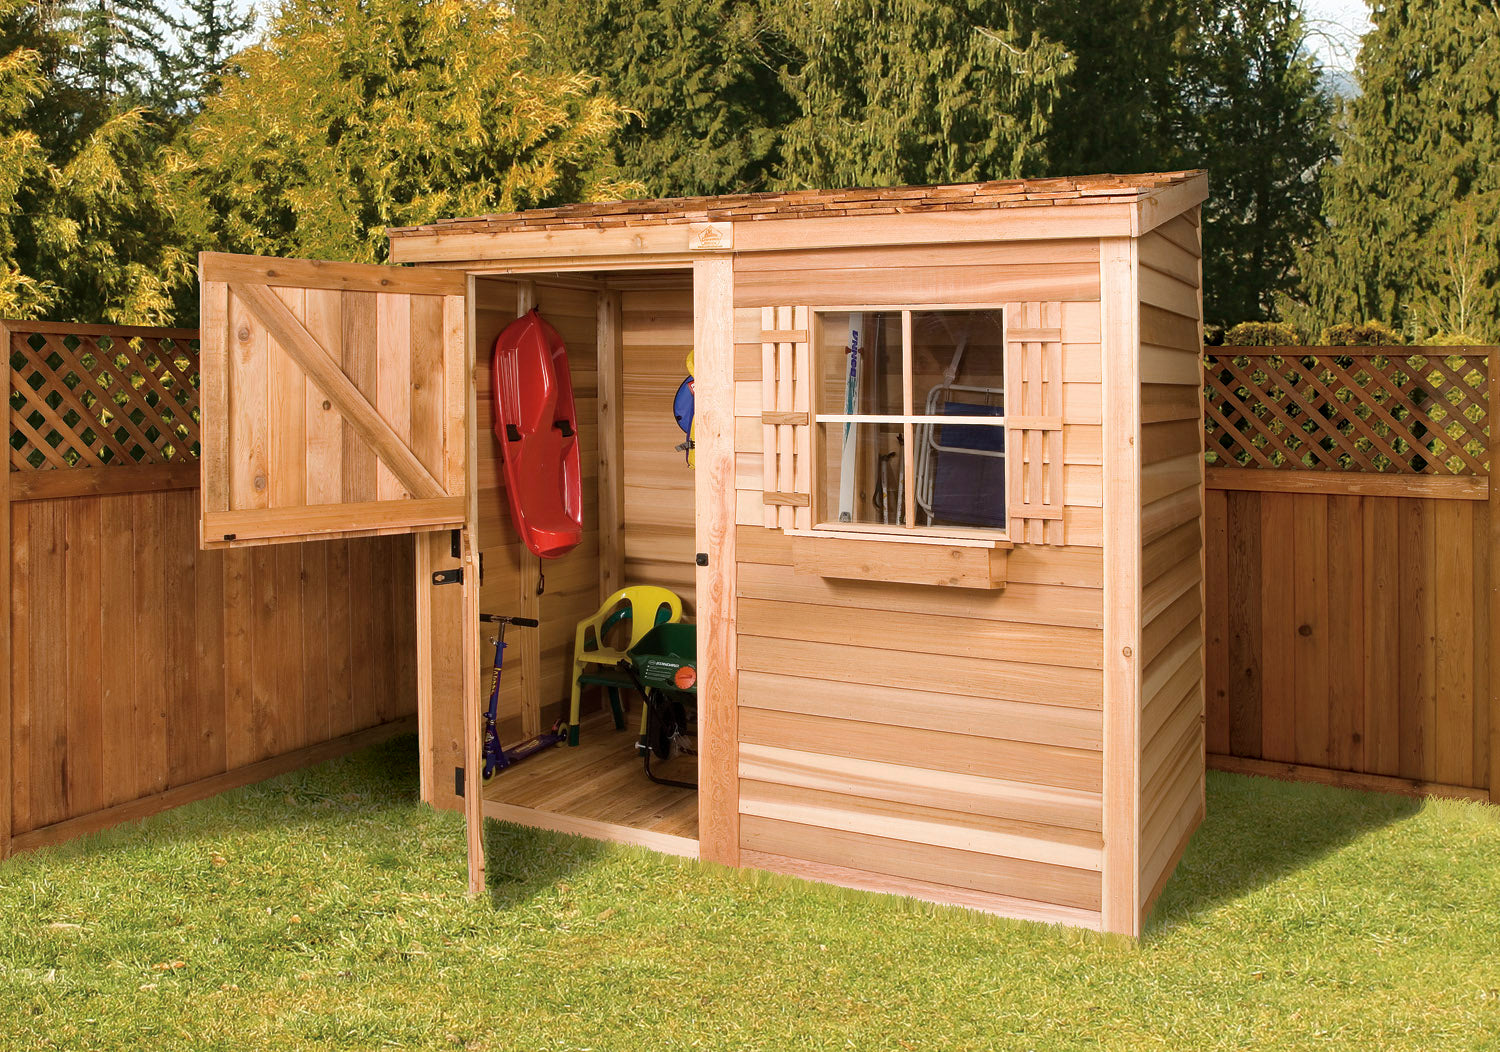
Hey there, fellow DIY enthusiasts! You're looking to build a lean-to shed, huh? Good choice! They're super versatile, relatively easy to build, and perfect for a variety of storage needs.
But let's be real, building anything can seem daunting, especially if you're a newbie. Don't worry! I'm here to walk you through the process, sharing some tried-and-true tips to make your lean-to shed project a smooth and rewarding one.
### The Foundation: Get a Solid Start
First things first, you need a strong foundation. A lean-to shed leans against an existing wall, so your foundation is really just a base for the front and sides. Here are some key points:
Choose the right material: Concrete blocks, treated lumber, or even pavers can work great. Consider the soil conditions and your budget when making this decision.
Level it up: This is super important for a shed that's sturdy and looks good. Use a level to make sure your foundation is perfectly flat before you start building.
Think about drainage: You don't want your shed to flood! Make sure your foundation is slightly sloped away from your house to allow water to drain.
### The Framing: Building Your Skeleton
Now it's time to build the skeleton of your shed! This is where you'll use those trusty 2x4s and some basic carpentry skills.
Measure twice, cut once: This is a classic saying for a reason. Accurate measurements are essential for a square and sturdy shed. Take your time and double-check everything before you start cutting.
Use a framing square: This tool is your best friend when building the frame. It ensures your corners are perfectly square, preventing your shed from leaning or collapsing.
Think about the roof: The lean-to design means your roof will be a simple slope. Consider using pre-made roof trusses to simplify the process. You can also create your own using 2x4s and plywood.
Don't forget the bracing: Adding bracing to your walls and roof is crucial for structural stability. It's not the most glamorous part, but it's vital!
### The Sheathing: Filling in the Gaps
Now that you have your frame, it's time to add sheathing. This is the plywood or OSB that provides the foundation for your siding and roof.
Choose the right sheathing: Plywood is a classic option, but OSB (Oriented Strand Board) is a good alternative and is usually cheaper.
Secure it properly: Use screws or nails that are long enough to go through the sheathing and into the framing. Space them according to the manufacturer's recommendations.
Remember the roof: You'll need to install sheathing on the roof too, making sure it runs perpendicular to the direction of the rafters. This will give your roof added strength.
### The Finishing Touches: Making Your Shed Look Great
You've built the foundation, the frame, and added the sheathing. Now it's time to make your shed look awesome!
Siding: There are endless options here! Wood, vinyl, metal - it's up to your style and budget. Remember to choose siding that's designed to withstand the elements.
Roofing: Shingles, metal, or even corrugated metal roofing are all good choices. Make sure you install them correctly and use the proper underlayment.
Doors and windows: Do you need a door for easy access? Maybe a window to let in some light? Now's the time to choose and install them.
Trim: Adding trim around your doors, windows, and roof edges will give your shed a polished look.
### Tools and Materials: What You'll Need
So, you've decided to take the plunge and build your very own lean-to shed. Great! But first, you need to gather the essential tools and materials.
Tools:
Saw: A circular saw or a handsaw will be your go-to for cutting lumber.
Tape measure: Accurate measurements are key!
Level: You need this to ensure everything is perfectly flat and level.
Hammer: A trusty hammer for driving nails and securing pieces.
Drill: A drill with various bits is essential for attaching screws and creating pilot holes.
Safety gear: Always wear safety glasses, gloves, and a mask when working with power tools.
Materials:
Lumber: You'll need various sizes of treated lumber for the framing, sheathing, and foundation.
Fasteners: Nails, screws, and construction adhesives will hold your structure together.
Sheathing: Plywood or OSB will cover the frame.
Siding: Choose your preferred siding material â€" wood, vinyl, metal, or others.
Roofing: Select your roof type â€" shingles, metal, or corrugated.
Doors and windows: Opt for the size and style you desire.
Trim: Add finishing touches with trim boards around doors, windows, and the roof.
### Important Considerations:
Before you start building, there are a few things to keep in mind:
Permits: Check with your local building department to see if you need any permits before starting construction.
Building codes: Make sure your shed meets local building codes.
Location: Choose a spot that's level and well-drained. Make sure the lean-to side of your shed is securely attached to your existing wall.
Foundation: Ensure the foundation is strong enough to support the weight of the shed.
Roof slope: The slope of your roof needs to be steep enough to allow for proper drainage.
### Let's Get Building!
Building a lean-to shed might seem like a big task, but by breaking it down into smaller steps and taking your time, you'll be surprised at what you can accomplish. Remember, there's no shame in asking for help if you need it. There are tons of resources available online and in your local community, like YouTube tutorials, home improvement stores, and even friendly neighbors.
So, grab your tools, gather your materials, and let's get building! You'll be surprised at how much satisfaction you'll get from creating something useful with your own two hands. Happy building!

0 comments:
Post a Comment
Note: Only a member of this blog may post a comment.