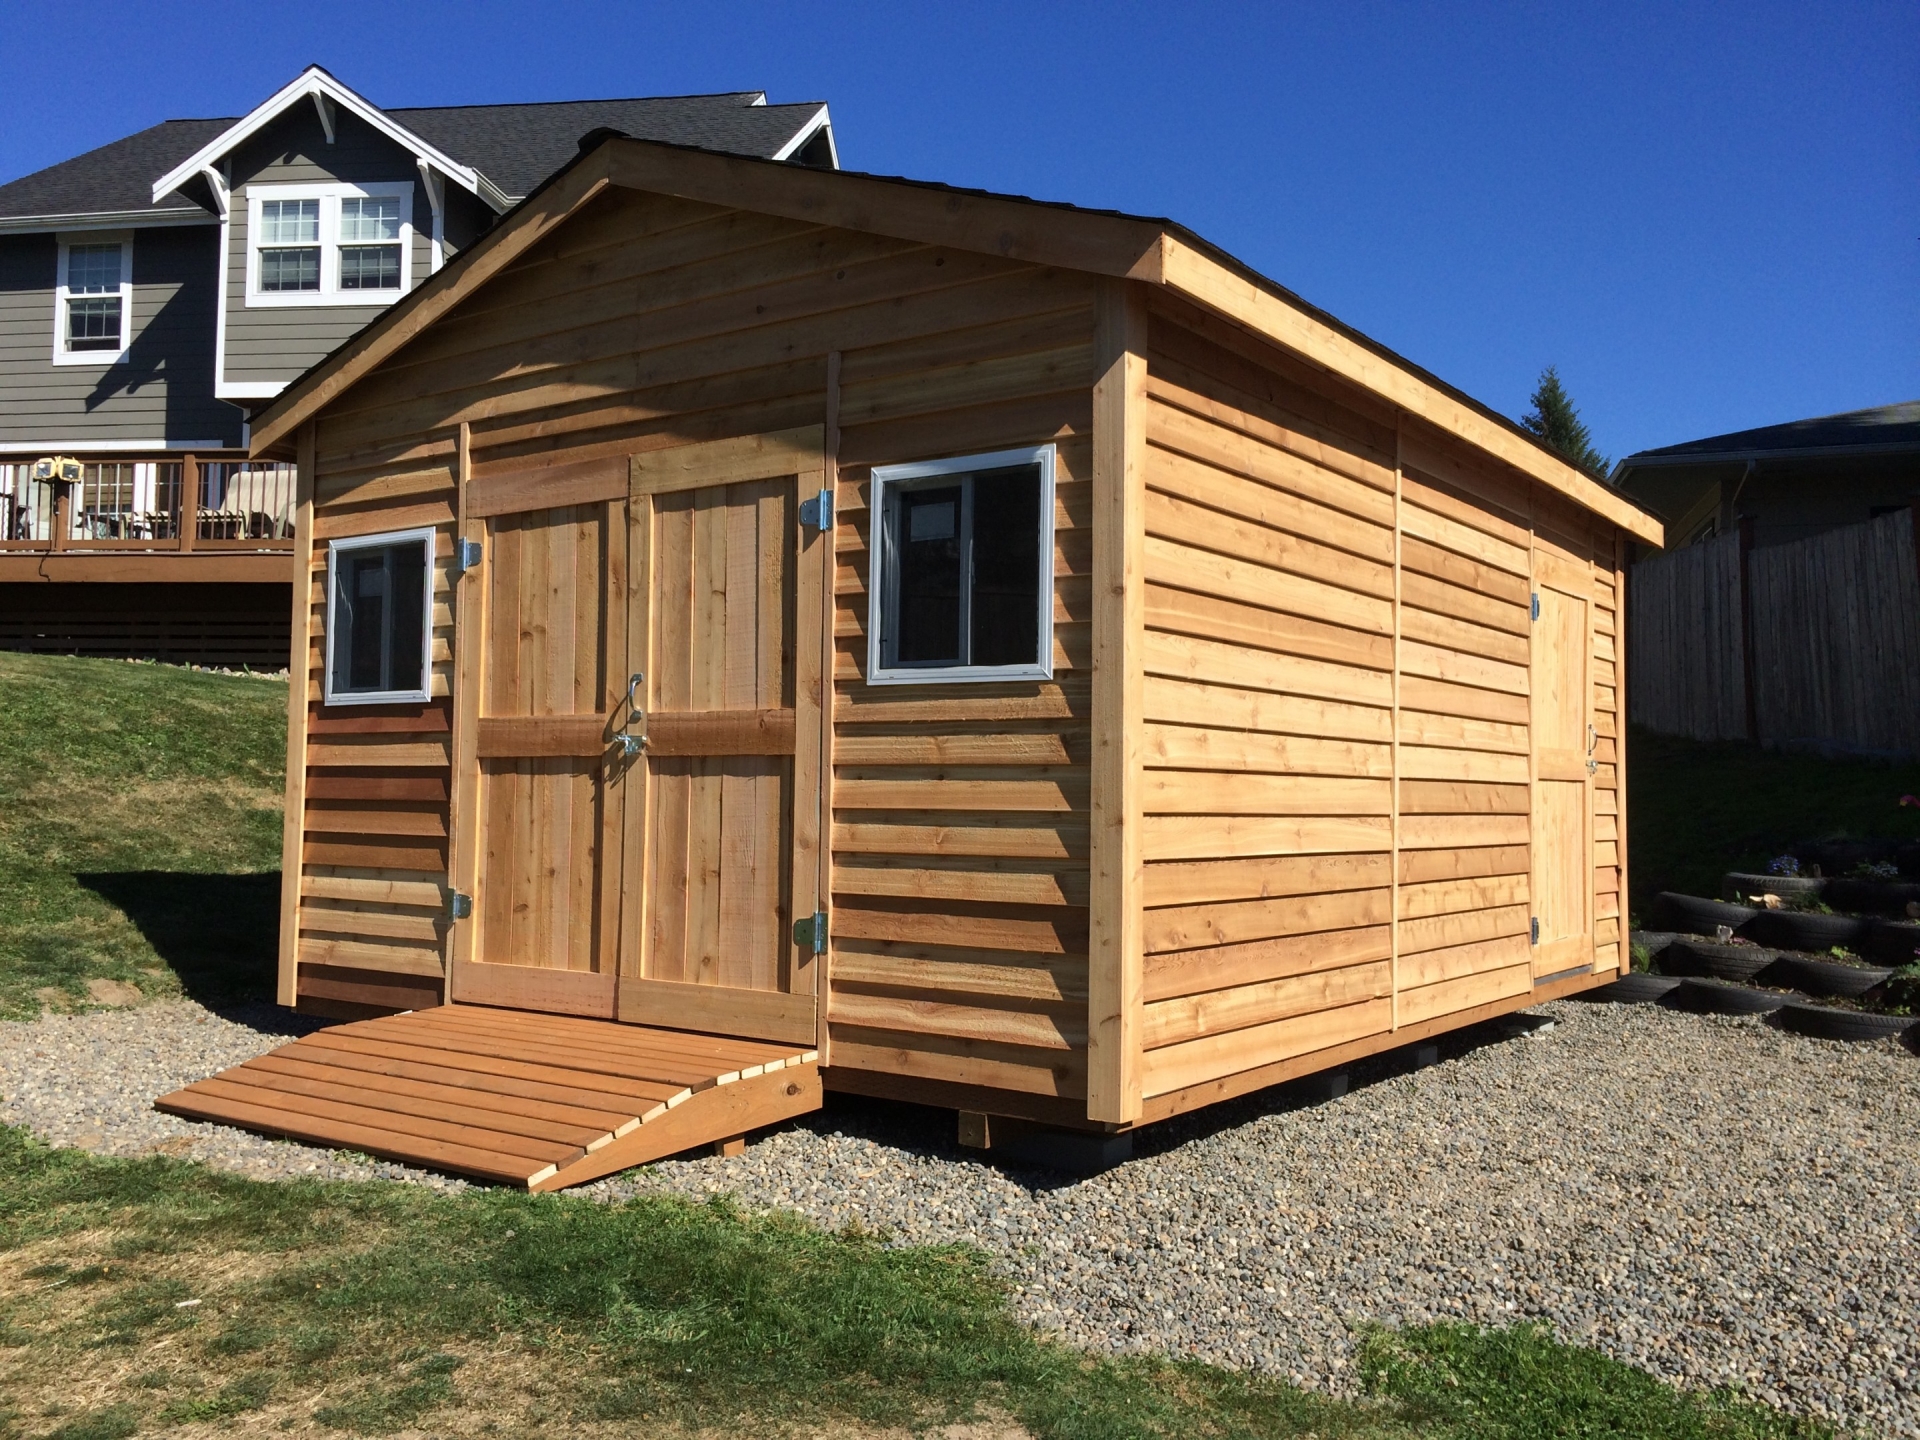
Hey there, fellow DIY enthusiast! Building a shed is a fantastic way to add valuable storage space to your property, and a 12x16 shed is a great size for most needs. Don't be intimidated by the project â€" with a little planning, patience, and a few basic tools, you can totally do this! I'm going to walk you through the whole process, from planning and materials to construction and finishing touches.
1. Planning Your Dream Shed: Let's Get This Party Started!
First things first, you need to decide what you're going to use this shed for. This will determine the features you need. Do you want windows? A door on the side? A workbench inside?
Location, Location, Location: Where will you build your shed? Make sure the spot has good drainage, is level, and is far enough from any trees or power lines.
The Big Picture: Draw a plan. This doesn't have to be fancy, but it should include the dimensions of your shed, the location of doors and windows, and any special features you want.
Permit Power: Check with your local building department to see if you need a permit to build a shed. Sometimes, they do, and sometimes they don't. It's better to be safe than sorry!
Material Matters: Choose your materials. For a 12x16 shed, you can use pressure-treated lumber for the floor joists and sill plates, and standard lumber for the walls and roof. You'll also need roofing shingles, siding, windows, a door, and fasteners like nails and screws.
Foundation for Success: Decide on your foundation. For a 12x16 shed, you can use concrete piers, concrete blocks, or a simple gravel base. Concrete piers are the strongest, while gravel is the cheapest.
2. Let's Get Building: The Foundation of Your Shed Dreams
Dig, Dig, Dig: If you're using concrete piers, you'll need to dig holes that are about 2 feet deep and 12 inches wide. Make sure they're spaced every 8 feet around the perimeter of the shed.
Block Party: If you're using concrete blocks, make sure they're level and spaced evenly around the perimeter. You can use mortar or concrete mix to bind them together.
Gravel Heaven: If you're using gravel, dig a 6-inch deep trench around the perimeter of the shed and fill it with gravel.
The Leveling Act: Once your foundation is in place, double-check that it's level using a level. You'll need a level foundation for your shed to stand strong.
3. Framing Up Your Future: The Walls and Roof
The Sill Plate: Start by laying the sill plates on the foundation. These are the pieces of lumber that run around the perimeter of the shed. Make sure they're level and flush with the foundation.
Wall Framing: Next, build the walls. Cut and assemble the wall studs, which will be spaced 16 inches apart. You can use a framing square to ensure your corners are perfectly square.
Top It Off: Once the walls are up, you need to add the top plate, which runs along the top of the walls. This will connect the walls and provide a base for the roof.
Roof Time: Now you can frame the roof. The rafters will run from the top plate to the ridge board, which runs down the center of the shed. Make sure the rafters are spaced 16 inches apart.
Sheathing and Roofing: Once the roof is framed, you'll need to add sheathing, which is plywood or OSB that creates a flat surface for the roof shingles. Then, you can install the roof shingles.
4. Doors and Windows: Adding Character to Your Shed
Doorway to Dreams: Cut out the door opening and install the door. You can use hinges to attach the door to the frame, and a door handle and lock for security.
Window Wonderland: Cut out the window openings and install the windows. You can use flashing to ensure the windows are properly sealed and waterproof.
Sidewalk to Shed-tastic Success: Don't forget about your shed's exterior! Install siding, trim, and any other finishing touches.
5. The Finishing Touches: Turning Your Shed into a Home
A Place for Everything: Install shelves, hooks, and other storage options inside the shed to help you keep your belongings organized.
A Touch of Elegance: Paint the shed inside and out to add some color and personality.
Power Up: If you need electricity in your shed, install electrical outlets and wiring.
Enjoy Your Creation: Now, step back and admire your hard work. You've built your own shed!
Tips and Tricks for Shed-tastic Success:
Safety First: Always wear safety glasses, gloves, and hearing protection when working with power tools.
Measure Twice, Cut Once: Take your time and measure carefully before making any cuts. You can always make a cut a little bit longer, but you can't make it shorter.
Use a Level: Make sure your foundation, walls, and roof are level. This will ensure that your shed is structurally sound.
Get Help: If you're not comfortable doing a certain part of the project, ask a friend or family member for help.
Take Breaks: Don't try to do too much in one day. Take breaks to rest and avoid getting overwhelmed.
And there you have it! You've got everything you need to build a 12x16 shed. So grab your tools, put on your hard hat, and get to work! You've got this. Remember, every shed started as a dream, so have fun with it, and don't be afraid to personalize it to your liking. Building a shed is a rewarding experience, and it's something you can be proud of for years to come. Happy shed building!

0 comments:
Post a Comment
Note: Only a member of this blog may post a comment.